Gallery Walls: A Step-by-Step Guide to Creating Your Own Art Display
Creating a gallery wall is an engaging way to display a collection of art, photos, and personal memorabilia that tells a story unique to you. It's a project that can bring life to a blank wall and transform a room into a reflection of your personality and tastes. This step-by-step guide will walk you through the process, from planning to execution, ensuring you create a cohesive and visually appealing display.
Step 1: Gather Your Artwork
The first step in creating a gallery wall is to gather the artwork and items you want to display. This can include a mix of:
- Prints and Posters: Choose pieces that speak to you, whether they're fine art prints, graphic posters, or personal photographs.
- Original Art: Incorporate paintings or drawings, which can add a unique and personal touch.
- Memorabilia: Items like concert tickets, vintage letters, or anything else that holds sentimental value.
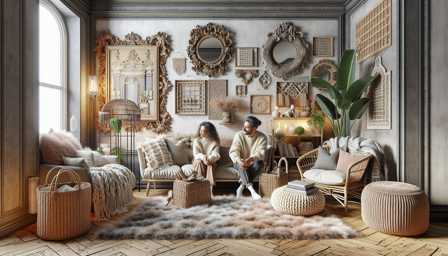
- Mirrors and Objects: Adding mirrors or decorative objects can add depth and interest to your gallery wall.
Consider varying the size, frame style, and color scheme to create a dynamic display. For purchasing prints or frames, retailers like Framebridge, IKEA, and Etsy offer a wide range of options that can accommodate different tastes and budgets.
Step 2: Choose a Layout
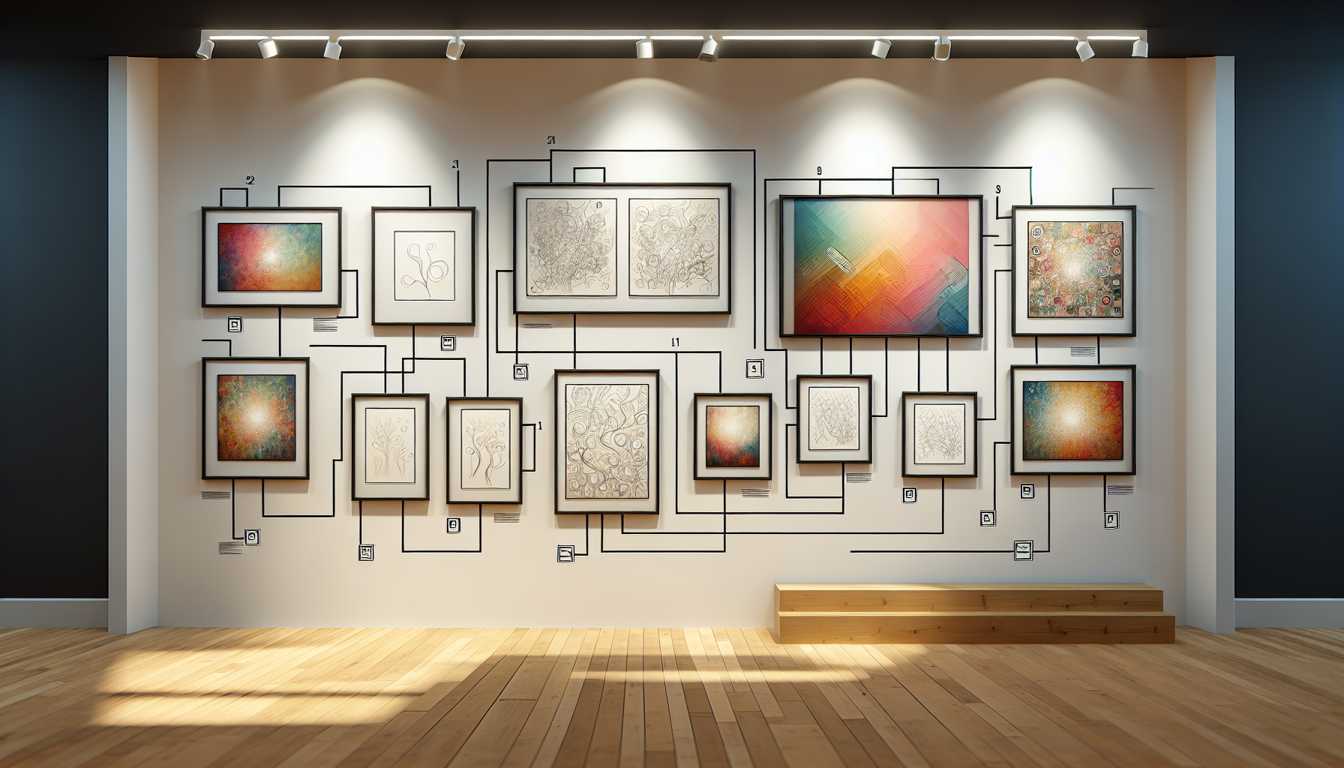
Before you start hammering nails into the wall, plan your layout. There are several approaches to consider:
- Grid: Perfect for a clean, symmetrical look. This works well with artwork of the same size.
- Salon Style: Inspired by the historic Salons, this is a more eclectic and organic layout, great for mixing different sizes and types of art.
- Linear: Ideal for narrow spaces, artwork is arranged in a straight line at eye level.
Use paper templates or a digital layout app to experiment with arrangements. This helps visualize the final look without committing to nail holes early on.
Step 3: Select Your Frames
Frames not only protect and display your art but also contribute to the overall aesthetic of your gallery wall. Consider these factors:
- Consistency vs. Variety: Decide whether you want a uniform look with matching frames or a more eclectic feel with mixed materials and styles.
- Matting: Mats can help art stand out. Use them to add extra dimension or to make smaller pieces feel more substantial.
- Quality: Invest in good-quality frames that complement your decor. Custom framing services like Framebridge can provide frames tailored to your specific pieces.
Step 4: Plan Your Arrangement
Lay your framed pieces on the floor to finalize your arrangement. Move pieces around until you're satisfied with the balance and spacing. Aim for 2-3 inches between smaller pieces and up to 5 inches for larger ones. Take a photo of the final layout to reference during hanging.
Step 5: Hang Your Art
Start by hanging the largest piece or the centerpiece, then work outwards. Use a level and measuring tape to ensure everything is straight and evenly spaced. There are various hanging tools and hardware options, from traditional nails and picture hangers to more modern systems like Command Strips for lighter pieces, which are especially useful for renters.
Step 6: Enjoy Your Gallery Wall
Once everything is hung, take a step back and enjoy your handiwork. A gallery wall is not only a decorative element but a reflection of your journey, interests, and aesthetics.
Maintenance and Updates
Your gallery wall isn't set in stone. Feel free to swap out pieces, add new finds, or rearrange the layout as your collection grows. This dynamic approach keeps your display fresh and engaging.
Conclusion
Creating a gallery wall is a fulfilling project that adds personality and warmth to your home. By following these steps and incorporating your unique style, you'll create a space that truly feels like your own. Whether you're showcasing fine art or cherished personal items, the key is to have fun and let your creative spirit guide you.


